For over 20 years, our factory has been deeply rooted in the field of CNC machining. We’ve continuously optimized our processes to balance output, precision, and cost. Here's a summary of our core experience, which we hope will be a useful reference for our peers and help businesses align with international quality standards and boost operational efficiency.
Smart process planning is key to reducing waste and cutting down on errors. We mainly follow two core principles:
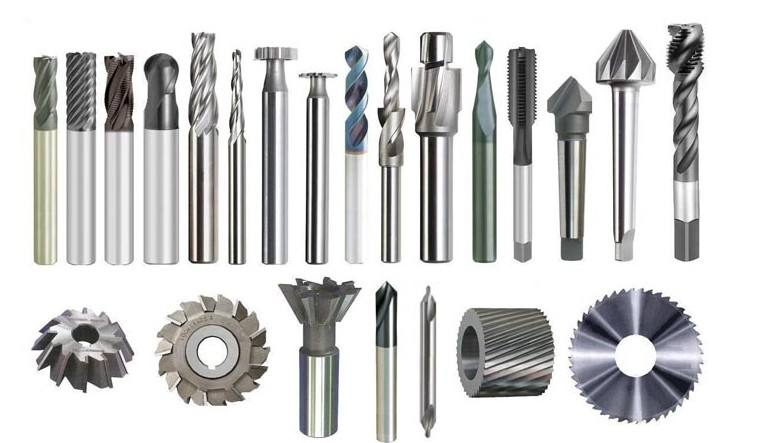
Tool Concentration Principle: Use one tool to finish all possible operations. For example, use a single end mill to complete all planar milling before swapping to a drill bit. This approach can cut tool change time by 30% while reducing positioning errors.
Difficulty Progression Principle: For complex parts like aerospace components, we first finish the simple tasks, like planar milling, before moving on to high-precision work, like drilling holes with a ±0.001mm tolerance. For easily deformable materials like aluminum, we strictly separate roughing and finishing. Roughing removes 80% of the material, and we wait for the part to cool and stabilize before finishing to prevent deformation from affecting precision.

Improper workholding is one of the top reasons for scrapped parts. We stick to these standards for our workholding process:
Datum Unification: We make sure the design, process, and programming datums are all consistent. For instance, CAD modeling and machine clamping both reference the same datum edge. This method prevents "datum offset," an issue that once led to machining deviations of more than ±0.02mm.
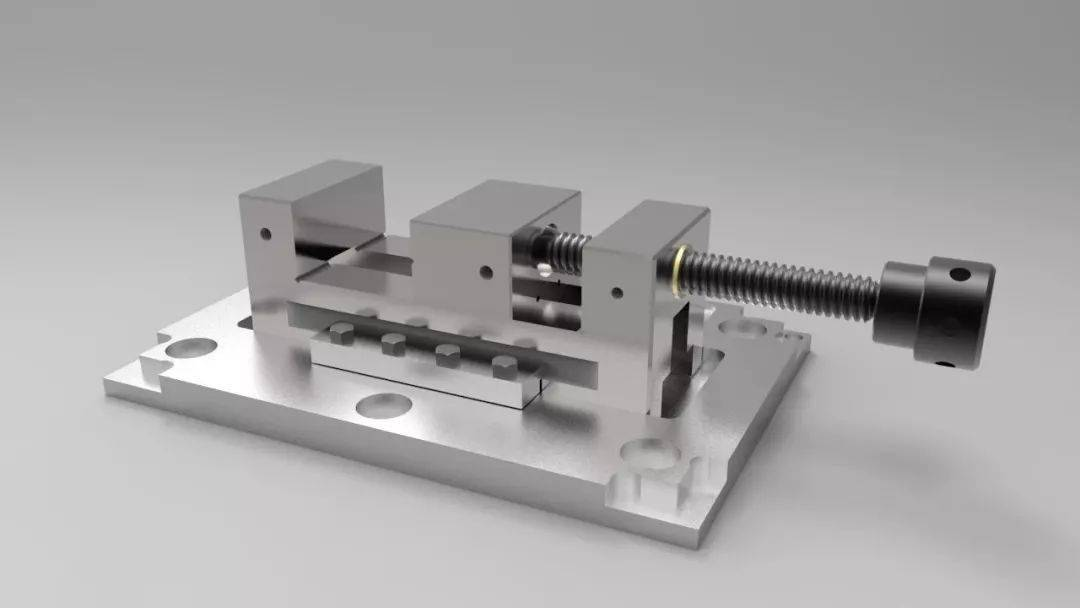
Fixture Adaptability: We select fixtures that won't block the tool path. When machining shafts like car drive shafts, we use a self-centering three-jaw chuck with a repeatable accuracy of ±0.002mm. For irregular parts like medical device casings, we use custom fixtures with quick-change jaws to slash setup time from 45 minutes to just 10.
Pre-Clamping Preparation: We clean the workpiece surface and the fixture jaws with alcohol to remove metal debris. Even a 0.1mm burr can cause mis-positioning.

Accurate tool setting is essential for making sure parts meet design specs. Here’s our process:
Tool Setting Point Selection: We prioritize using an already-machined surface or a dedicated datum pin instead of the raw stock edge for tool setting. We currently use a laser tool setter with an accuracy of ±0.0005mm to measure tool length and radius. This has replaced traditional "trial cut tool setting" and saves 15 minutes per setup.
Coordinate System Consistency: We make sure the machine's workpiece coordinate system (WCS) and the programming coordinate system are a perfect match. Before starting, operators use a probe to double-check the coordinate origin (like X0, Y0, Z0). This step has cut coordinate-related errors by 90%.

A smart tool path boosts both efficiency and quality:
Roughing and Finishing Separation: For roughing, we use a high feed rate (e.g., 1000mm/min for steel) and a deep cut to remove material fast. For finishing, we lower the feed rate (to 200mm/min) and shorten the step-over (0.1mm) to ensure a surface roughness of Ra 0.8μm, which meets food-grade and medical-grade part standards.
Simulate Before Machining: We use software like Mastercam and SolidWorks CAM to simulate the tool path and catch potential collision risks, like a tool hitting a fixture, ahead of time. We once used a simulation to find a potential collision, which saved a $5,000 tool from being damaged.
Automated machining isn't a "start-and-forget" process. We focus on three key areas:
Cutting Status: We listen for unusual noises, like a sharp grinding sound, and watch the spindle load fluctuations using the CNC system's real-time data to gauge tool wear. We replace tools when they reach 70% wear, instead of waiting for them to completely fail, to prevent parts from being scrapped.
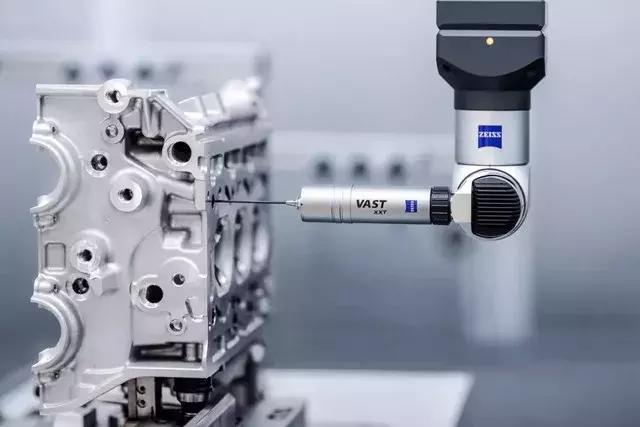
Quality Sampling: We use a Coordinate Measuring Machine (CMM) to check critical dimensions every 20 parts. For large orders, like over 10,000 car bolts, we use an online visual inspection system for a 100% full check.
Equipment Health: We track machine run time with a Manufacturing Execution System (MES) and strictly follow a preventive maintenance plan, like lubricating guides every 50 hours. This has lowered unplanned downtime from 8% to 2%.

When it comes to costs, we don’t focus on quick savings. We make smart investments to lower long-term costs:
Extending Tool Life: We apply a TiAlN coating to tools for high-temperature materials, which doubles their lifespan. We also optimize cutting fluids based on the material. For example, using water-soluble coolant for aluminum cuts down on tool wear.
Improving Material Utilization: High-precision machining has cut our scrap rate from a traditional lathe's 5% to just 0.5%. For titanium alloy priced at $50/kg, this saves $2,250 in material costs for every 1,000 parts we make.
Energy Reduction: We use energy-efficient CNC machines, like the Fanuc 0i-F series, which have a servo system that uses 22% less energy than older equipment.
The success of CNC machining depends on a seamless blend of process, people, and technology. By standardizing our workflow, strictly controlling workholding accuracy, and monitoring operations in real time, we've boosted our on-time delivery rate from 85% to 98% and a customer reorder rate of 92%.
To better serve the international market, such as supplying to a European aerospace client, we’ve also aligned our processes with ISO 9001 and IATF 16949 standards. Experience has shown that small improvements in every step translate into a big boost in a company's competitiveness.